Deploying a Hugo site from GitHub to Uberspace
Whenever I tackle on a new web project, Kirby and Hugo are my first weapons of choice when it comes to content management for the site. While Kirby is excellent for working with non-static data like .json files, Hugo shines brightest in almost any other use case.
Hugo is great to use with version control and is easily automatically deployable with a pretty easy to set up GitHub action. In this article I would like to show you the necessary steps to deploy a Hugo site via GitHub actions to one of my favorite hosters, Uberspace.
Generate SSH key and add public key to Uberspace
We will open up the terminal and enter ssh-keygen -t rsa and are going to get asked where we want to save that file and name it. For this tutorial, I will just name it uberspace and not set a passphrase. After creating it, we navigate to the folder where we saved the key and enter cat uberspace.pub. The terminal will now output the public key we need to copy.
We now login to Uberspace and navigate to the tab Zugänge. Under Füge einen SSH public key hinzu, insert the public key we just copied and click go. Now the key has been saved to Uberspace and the first part of the deployment prep is already done.
Configure the domain at Uberspace
Now, we are logging in to the Uberspace instance via SSH. You now can add the domain your HUGO site should run on (we will use hugo.domain.com in this tutorial) to Uberspace with this command:
uberspace web domain add hugo.domain.com
Uberspace will now add the domain to its configuration and respond with A and AAAA records that we can use for this domain:
The webserver's configuration has been adapted.
Now you can use the following records for your DNS:
With your domain name registrar you now just have to edit the values of the (sub-) domain according to the information Uberspace provided to point this domain to the Uberspace servers.
Create Github Action
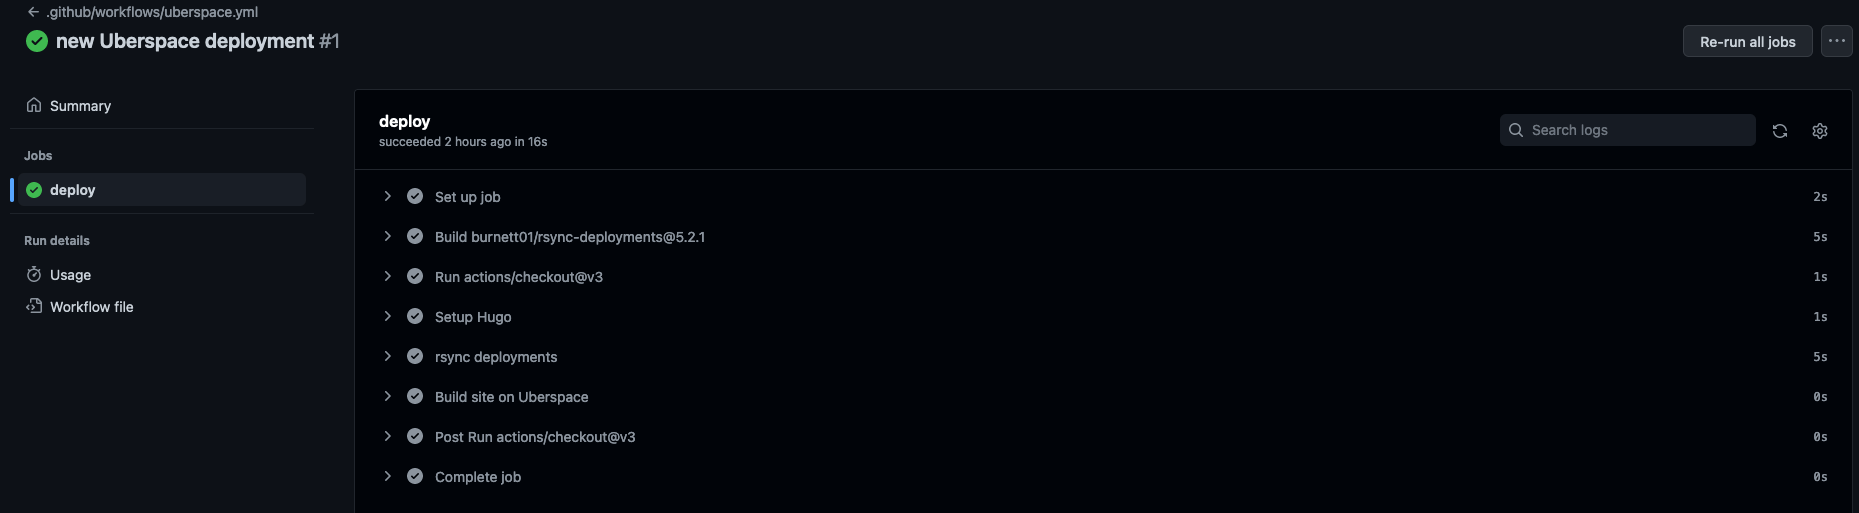
We now have to set up the Github Action workflow that will be taking over several different operations for us after the next deployment. So go ahead and create a file uberspace.yml in .github/workflows within your HUGO project. If you haven’t used Github workflows for this project before, you will need to create these two folders. The uberspace.yml should look like this:
on:
  push:
    branches:
      - master
jobs:
  deploy:
    runs-on: ubuntu-latest
    steps:
      - uses: actions/checkout@v3
      - name: Setup Hugo
        uses: peaceiris/actions-hugo@v2
        with:
          hugo-version: "latest"
      - name: Build site on Uberspace
        run: hugo --minify
      - name: rsync deployments
        uses: burnett01/rsync-deployments@5.2.1
        with:
          switches: -avzr --delete
          path: /
          remote_path: /var/www/virtual/${{ secrets.UBERSPACE_USER }}/hugosite
          remote_host: ${{ secrets.UBERSPACE_HOST }}
          remote_user: ${{ secrets.UBERSPACE_USER }}
          remote_key: ${{ secrets.UBERSPACE_DEPLOY_KEY }}
To get started we need the official Github Checkout V3 action, so that our workflow can access the repository.
After that we are using the
rsync deployments action to deploy the content of our repository / the HUGO site to Uberspace. To achieve this we can define the remote_path (where the content of the repository deploys to on the server) and use additonal switches like --exclude="data/" to in this case exclude the data folder within the HUGO repository from being uploaded to the server.
This can be useful when you are working with non-static data like .json files which are updated on the server itself. I will describe how to add the necessary secrets later.
The last step of the workflow happens on the Uberspace server. This triggers the command hugo --minify which builds a HUGO HTML output with minified assets (CSS, JS, HTML, SVG and more) in the public folder of the project. You could also add --quiet to suppress output like error messages or warnings while building.
Adding GitHub secrets
Now it’s time to add the required secrets to the GitHub repo that we want to use for our HUGO project. If you have not yet created a repository yet, you have to create a new one now. After that, follow the official GitHub Docs on how to add secrets to this repo.
The secret for UBERSPACE_USER is your Uberspace username, for UBERSPACE_HOST it’s the Uberspace hostname (like something.uberspace.de) and the secret value UBERSPACE_DEPLOY_KEY is the private SSH key we created in step on. Just navigate to the folder again with the terminal and enter cat uberspace to get the key and past it into the GitHub secret.
First commit to the GitHub repository
Now it’s time for the first commit of the local repository to GitHub. This starts the GitHub action we have previously configured and pushes the files to the Uberspace webspace for the first time. Due to permissions, sometimes the hugo command doesn’t create the public folder within the project. If this happens, just create a new folder within the hugosite project folder, rename it public and push again to the GitHub repo to trigger the Action once more.
Set up Uberspace DocumentRoot for HUGO
Normally you would now just create a folder within /var/www/virtual/<username>/ called hugo.domain.com and Uberspace would serve files from this folder. But since HUGO is a static site generator, it has its own public webfolder, that is supposed to be used as the DocumentRoot for this site. For our example I will use the folder hugosite as the location for all HUGO files and only the folder hugosite/public should be accessible from our domain hugo.domain.com.
Login to your Uberspace instance via SSH. Go into your webfolder with entering /var/www/virtual/$USER . We now just have to create a webfolder for the domain that we want to use for our HUGO site and link it to the public folder of the GitHub repo, that get automatically updated each time we run the hugo command, either with the workflow or manually. To symlink those to folders, we now enter ln -s hugosite/public hugo.domain.com. It will create a new folder called hugo.domain.com which uses all the content of the hugosite/public folder, and that’s where all the requests for this domain will now go to.
Success!
If everything went smoothly, our site should now be visible by visiting the domain we set up for it. If you have any questions, remarks or improvements, hit me up on Mastodon